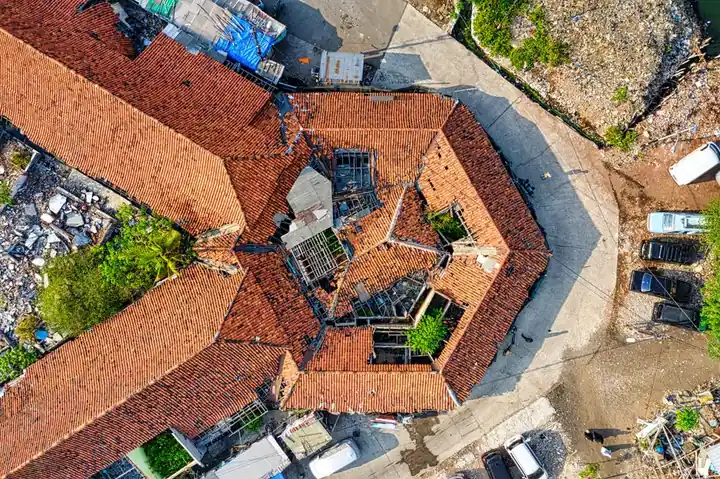
After a storm, inspecting your roof is crucial to ensure your home is safe. Knowing how to inspect your roof for storm damage can save you from costly repairs later. This guide will walk you through the inspection process, highlight what to look for, and offer tips specific to Daytona Beach.
Understanding Storm Damage
Storms can cause various types of damage to roofs, from minor issues to severe structural problems. In Daytona Beach, the combination of high winds and heavy rain can lead to significant roof wear and tear. Understanding the types of damage can help you identify what to look for during your inspection.
Initial Steps for Inspection
Before climbing onto your roof, start your inspection from the ground. Look for any visible signs of damage, such as missing shingles or sagging areas. Use binoculars for a closer look without risking your safety.
- Check for debris accumulation on the roof.
- Look for broken branches or fallen trees.
- Note any visible leaks or water stains on ceilings inside your home.
Common Signs of Storm Damage
When inspecting your roof, keep an eye out for the following signs of storm damage:
- Missing or damaged shingles: Look for any shingles that are cracked, curled, or completely missing.
- Granule loss: If you find granules in your gutters, this may indicate that your shingles are deteriorating.
- Water stains: Inside your home, check for any yellow or brown water stains on ceilings or walls.
Tools You Will Need
Having the right tools can make your inspection easier and more effective. Here's a list of essential tools:
- Binoculars
- Ladder
- Flashlight
- Measuring tape
- Camera (to document any damage)
Detailed Inspection Process
Once you're ready to inspect your roof up close, follow these steps:
- Set up your ladder safely against the house.
- Carefully climb onto the roof, taking care not to step on any damaged areas.
- Inspect the roof surface for signs of damage, including cracks, missing shingles, and any areas that appear to be sagging.
- Check flashings around chimneys, vents, and skylights for gaps or breaks.
- Document any damage with photos for your records or to share with a roofing professional.
In Daytona Beach, where storms can be intense, a thorough roof inspection after a storm is essential.
Common Mistakes to Avoid
When inspecting your roof, avoid these common mistakes:
- Not using safety equipment: Always wear a harness if you're working at heights.
- Ignoring small signs of damage: Minor issues can lead to significant problems if not addressed.
- Not checking the interior: Many homeowners forget to check for signs of leaks inside the home.
When to Call a Professional
If you notice significant damage or feel uncomfortable inspecting your roof, it's time to call a professional. At Daytona Beach Roofing Experts, we specialize in storm damage inspections and repairs. Our team can provide a comprehensive assessment and help you understand your options.
Frequently Asked Questions
How do I inspect my roof for storm damage?
Start from the ground to look for visible signs of damage, then carefully inspect the roof for missing shingles, leaks, or sagging areas.
What should I look for when inspecting my roof after a storm?
Look for missing or damaged shingles, granule loss in gutters, and any water stains on ceilings or walls inside your home.
How often should I inspect my roof?
It's advisable to inspect your roof at least twice a year, especially after severe weather events.
Can I repair minor roof damage myself?
While small repairs can often be done by homeowners, it's best to consult a professional for significant damage to ensure safety and proper repair.
What are the costs associated with roof repairs?
Costs can vary widely depending on the extent of the damage, but minor repairs typically range from $200 to $1,000, while major repairs could exceed $5,000.
Get help with roofing in Daytona Beach
Don't wait until small issues become major problems. If you suspect storm damage, call us today at +13862218927 for a comprehensive inspection and repair service.